PREVIOUS ARTICLE
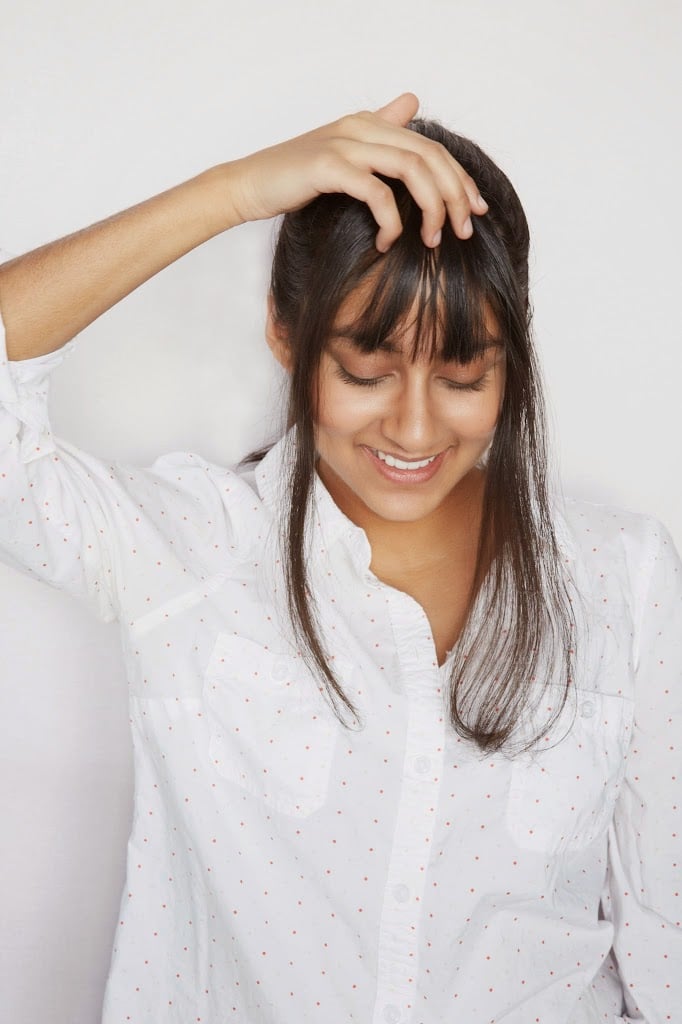
Do you have bangs? Do you want them? You can cut your own bangs at home—it’s actually not that hard. Our cute reader Ambika, above, wanted to learn how to create bangs, so my friend Reagan, a hair stylist, agreed to show us how it’s done…
How to cut your own bangs
Tip: Always cut bangs when your hair is dry, since hair shrinks up when it dries. If you cut your hair while it’s still wet, you might chop off more than you intend to. (You don’t want to wind up looking like Dumb and Dumber.)

1. Find the spot where your bangs should begin.
For a full fringe, like Zooey Deschanel, part your hair perfectly in the center. After you’ve parted your hair, feel the top of your head, and find the spot where it starts to slope down. Starting at the slope will make a pretty thick bang, so go a little less than that. (Although if you have a small forehead, you can start your bangs a bit farther back, so they have more length.)

2. Create your triangle.
A common mistake is to just pull a section of hair down and start cutting until it looks right, but it’s important to start with the correct sections so your bangs slope correctly. You want to create a triangle using the hair between the top two points of your forehead (your “high recession”). Be careful not to go too wide. Take equal amounts from each side; the most important thing is that your triangle is even.

3. Pull the rest of your hair into a ponytail.
You’re going to be cutting soon, so it’s helpful to keep the rest of your hair out of the way.

4. Part your bangs into three subsections: the center and two sides.
The center should be a little smaller than the other two sections. (This way, your bangs will slope correctly once they’re cut.)

5. Start cutting your bangs!
Cut the center section first. Pull the hair downward and hold your fingers at the length you want the bangs to be, then cut right beneath them. (Tip: ALWAYS plan on cutting bangs twice—cut them longer at first and refine them later. Even hairstylists always do a rough draft!) When cutting hair, it’s helpful to hold your scissors at an angle, so the blades are pointing to 11 o’clock. (If you cut straight across, you’re making a precision line, and there’s a better chance your bangs will look crooked and severe. If you cut on an angle, the end result is more forgiving and produces a softer, more textured line.)

6. Move on to the side sections.
To keep the length consistent, combine a little of the center section with the side that is about to be cut. It’s very important to SLOPE your fingers down at the angle you want your bangs to frame your face. (See how Ambika is holding her fingers?) Again, cut with your scissors pointed at 11 o’clock.
Repeat on the other side…

7. Wet your bangs down and blow dry them so they’re smooth.
Now’s the time to refine the bangs to make sure they’re even and balanced. At this point, you can decide if you want to go shorter, or if you’d like to make the entire horizontal section a little bigger (if so, you just make the triangle a little farther back).

How cute does she look? Would you try this? Would be a fun look for the summer.
Thank you so much, Reagan and Ambika! And a few behind-the-scenes shots, just for fun… :)


P.S. 16 hair tutorials, and two beauty uniforms.
(Photos by Alpha Smoot for A Cup of Jo. Hair tips by Reagan Baker)