PREVIOUS ARTICLE
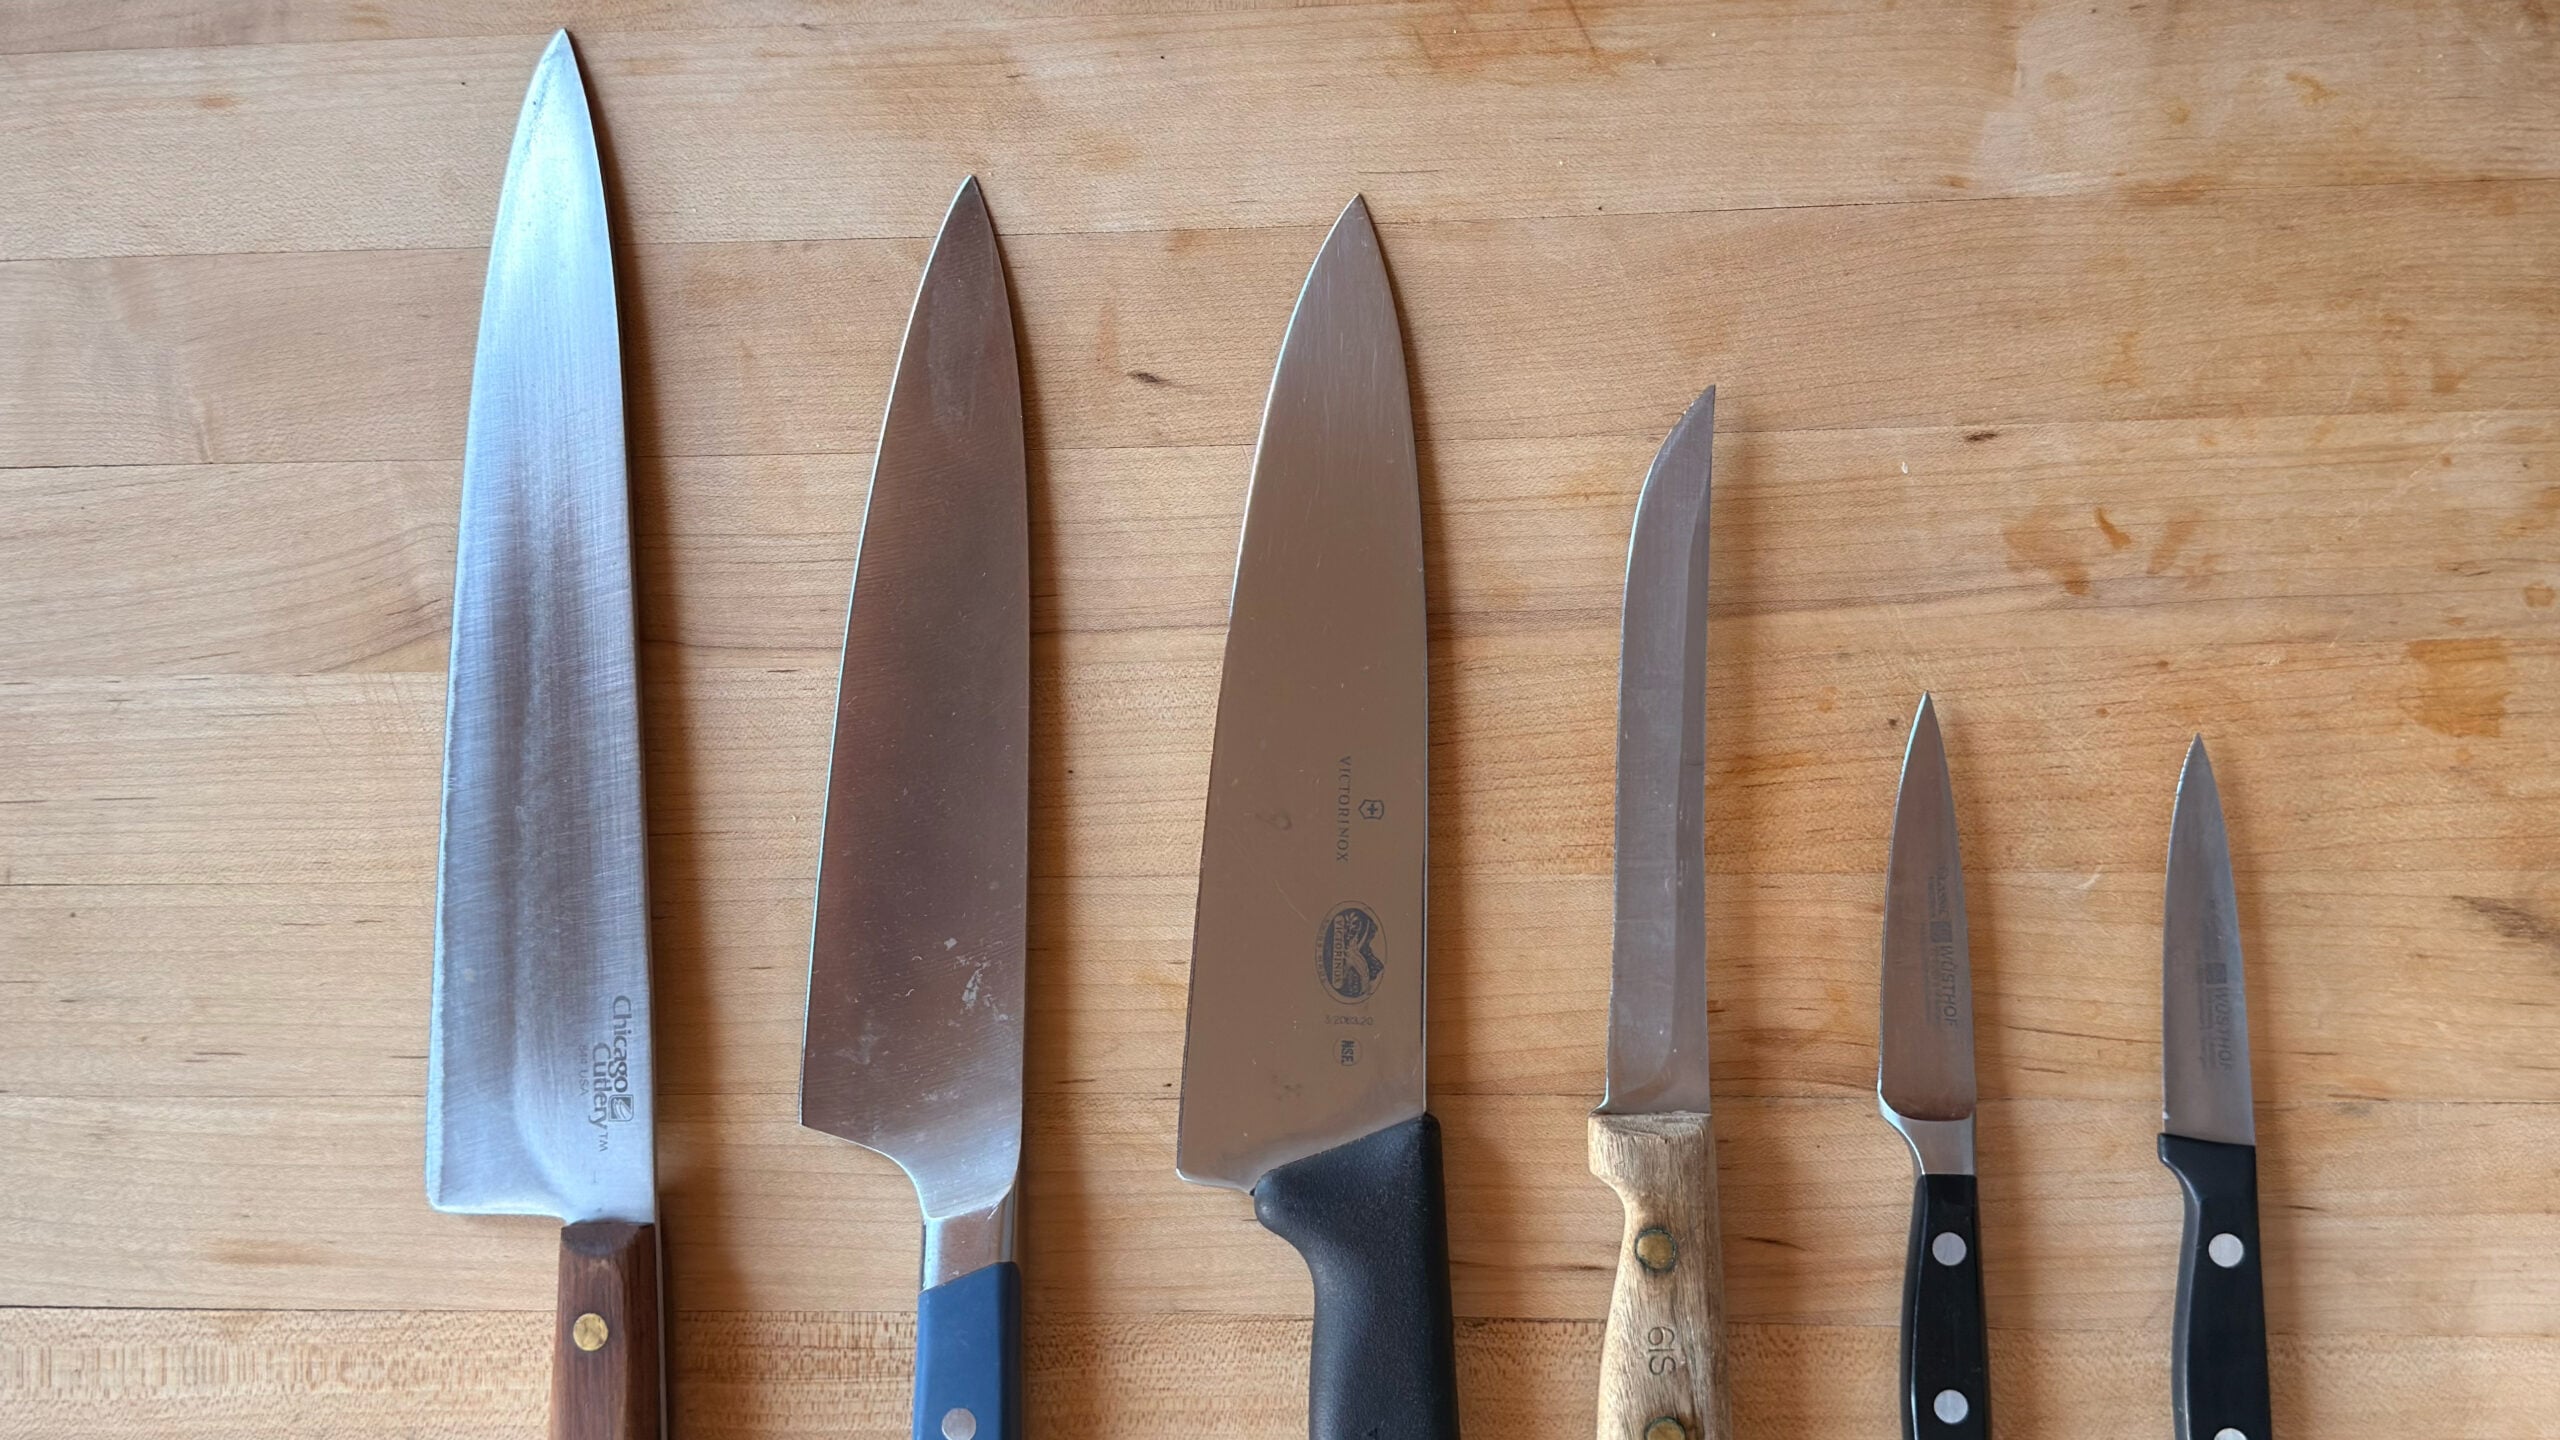
With the holidays right around the corner, our cutting boards are about to get busy. There will be piles of onions, garlic, herbs, carrots, celery, and potatoes to chop. So, before we all take our positions, I’d like to make a small but very important request: Sharpen your knives!
The expensive solution is to send your knives off to be professionally sharpened. But the just-as-easy and financially sustainable solution is to do it yourself at home. Once you get in the routine of sharpening your knives, there’s no looking back. Here’s everything you need to know:
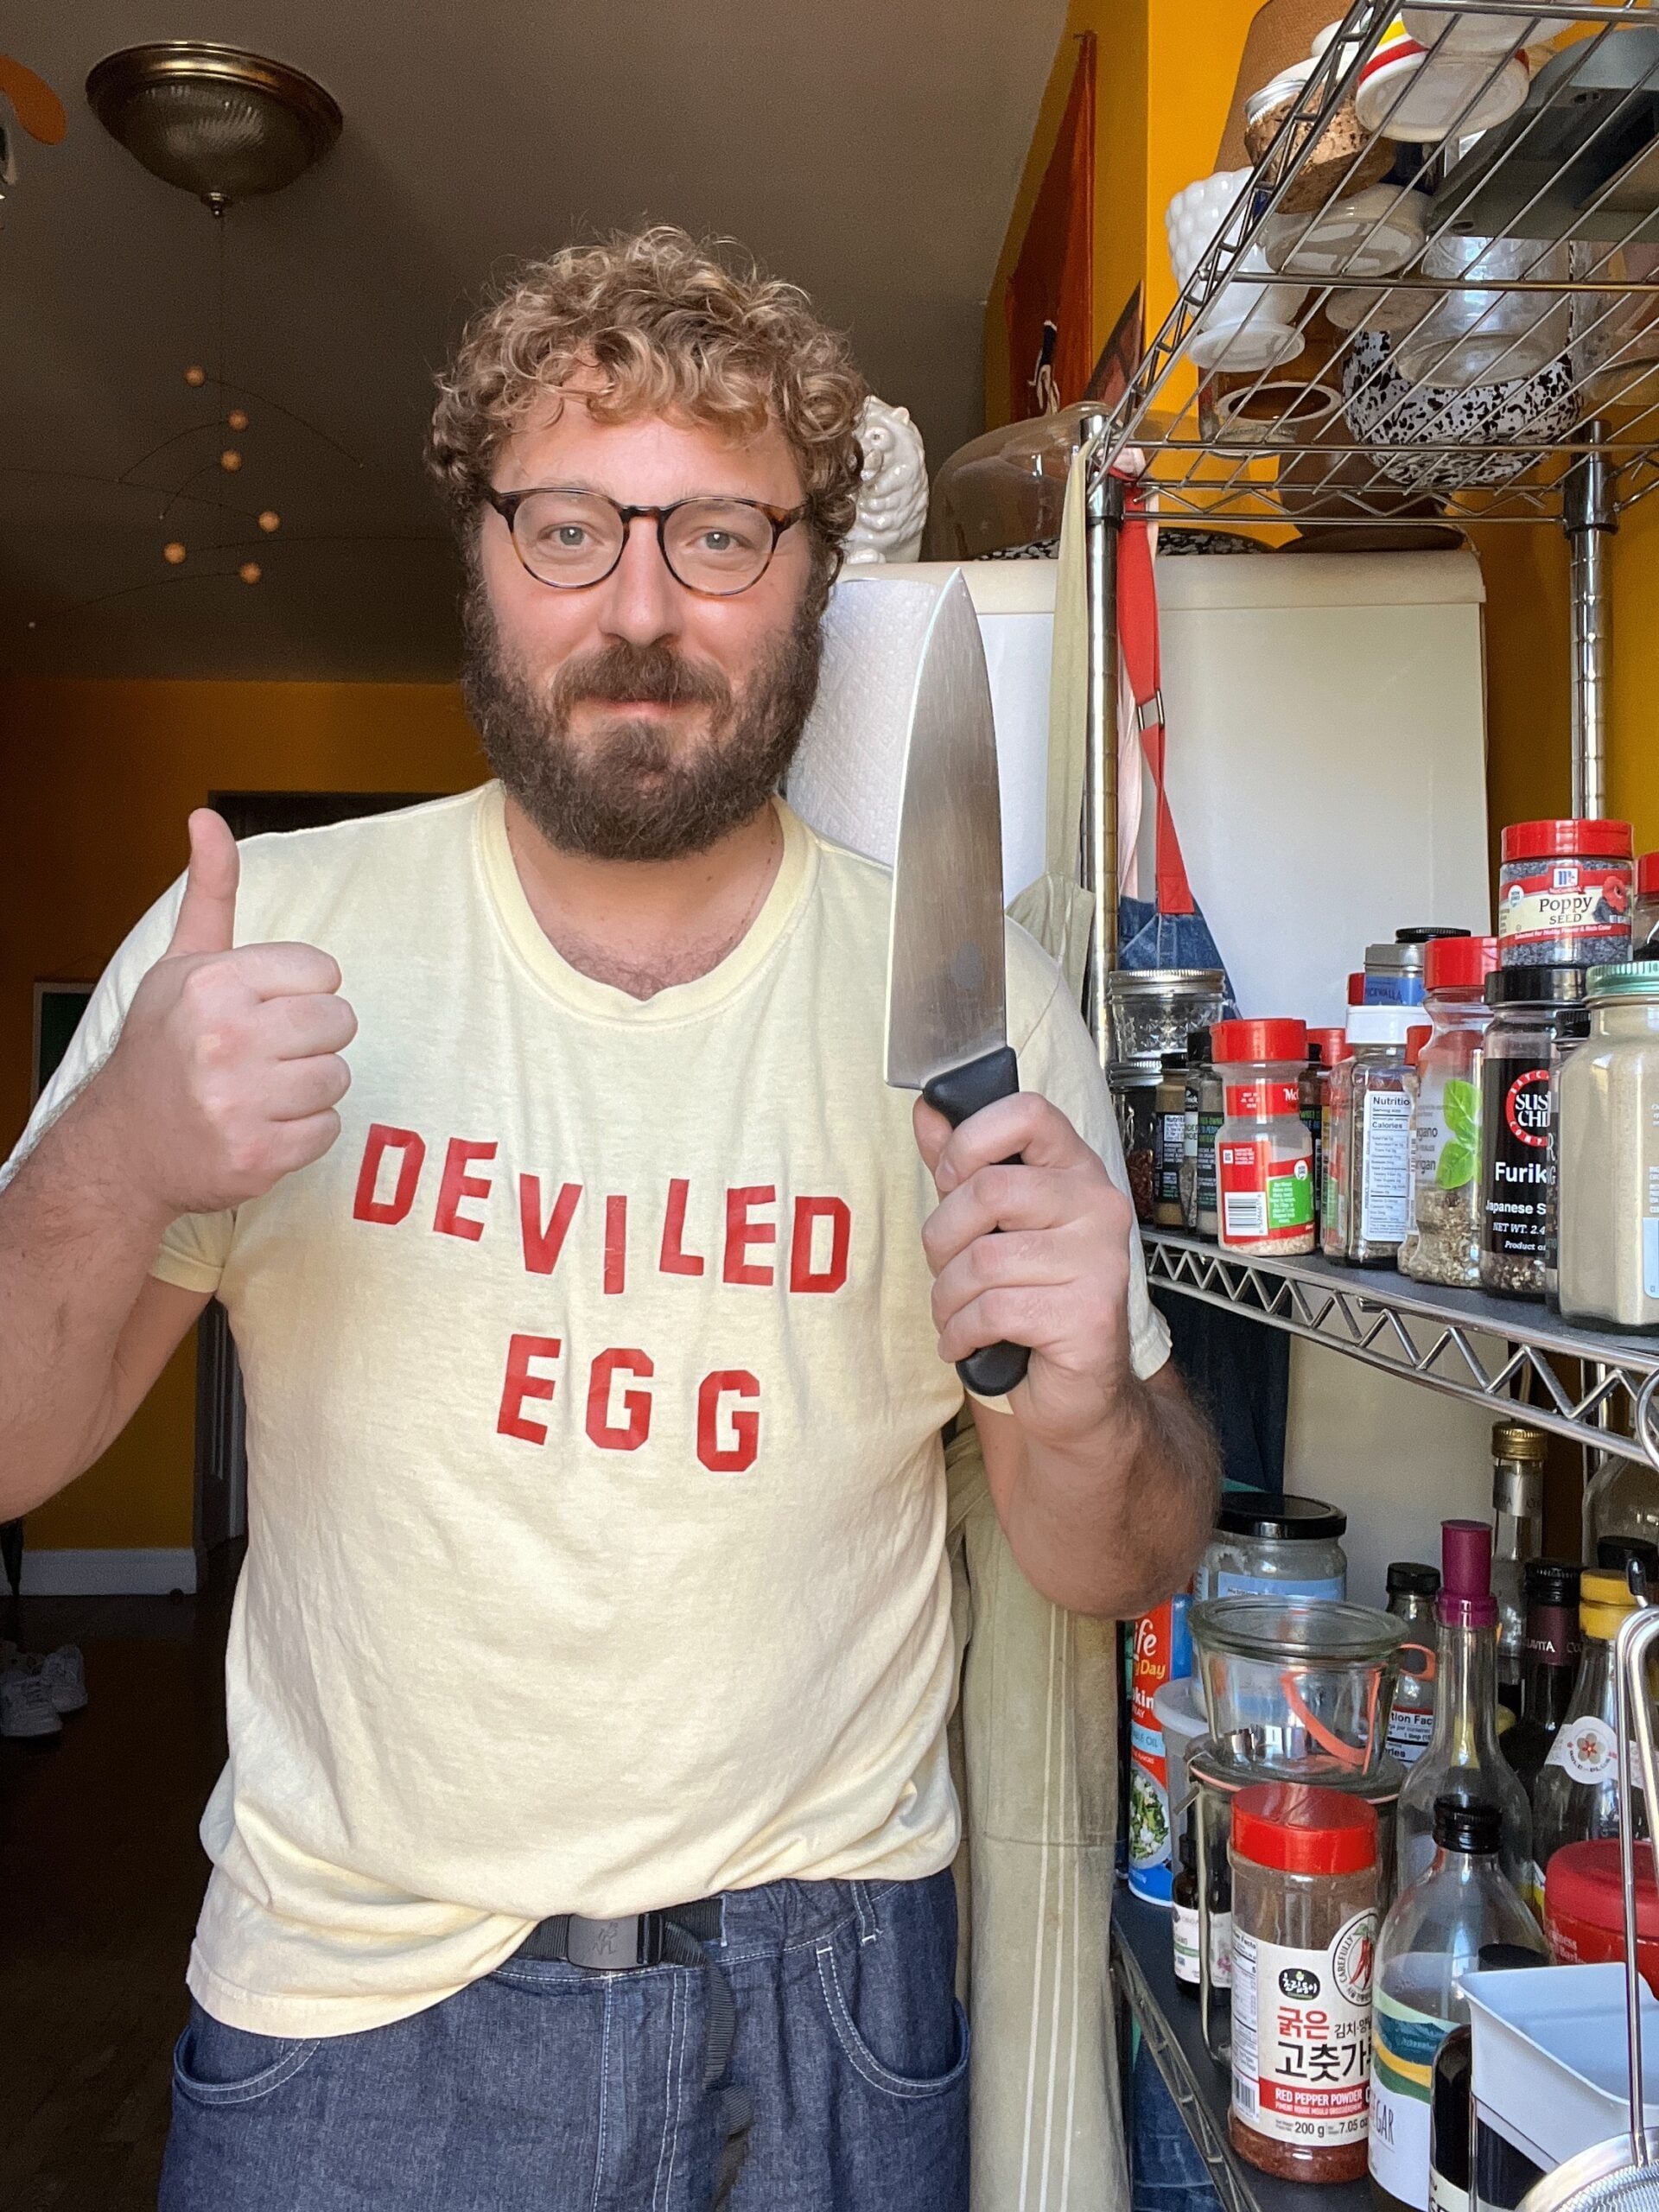
Isn’t a sharp knife more dangerous?
A sharp knife is actually safer than a dull one. When the blade is dull, you need more elbow grease for each cut, and that puts your fingers at risk for an unpredictable slip. A sharp knife glides through each cut with very little effort, so you know exactly where that blade is going. Prep is also faster and easier, so you are less dangerous emotionally to everyone around you.
How do I know when my knife is dull?
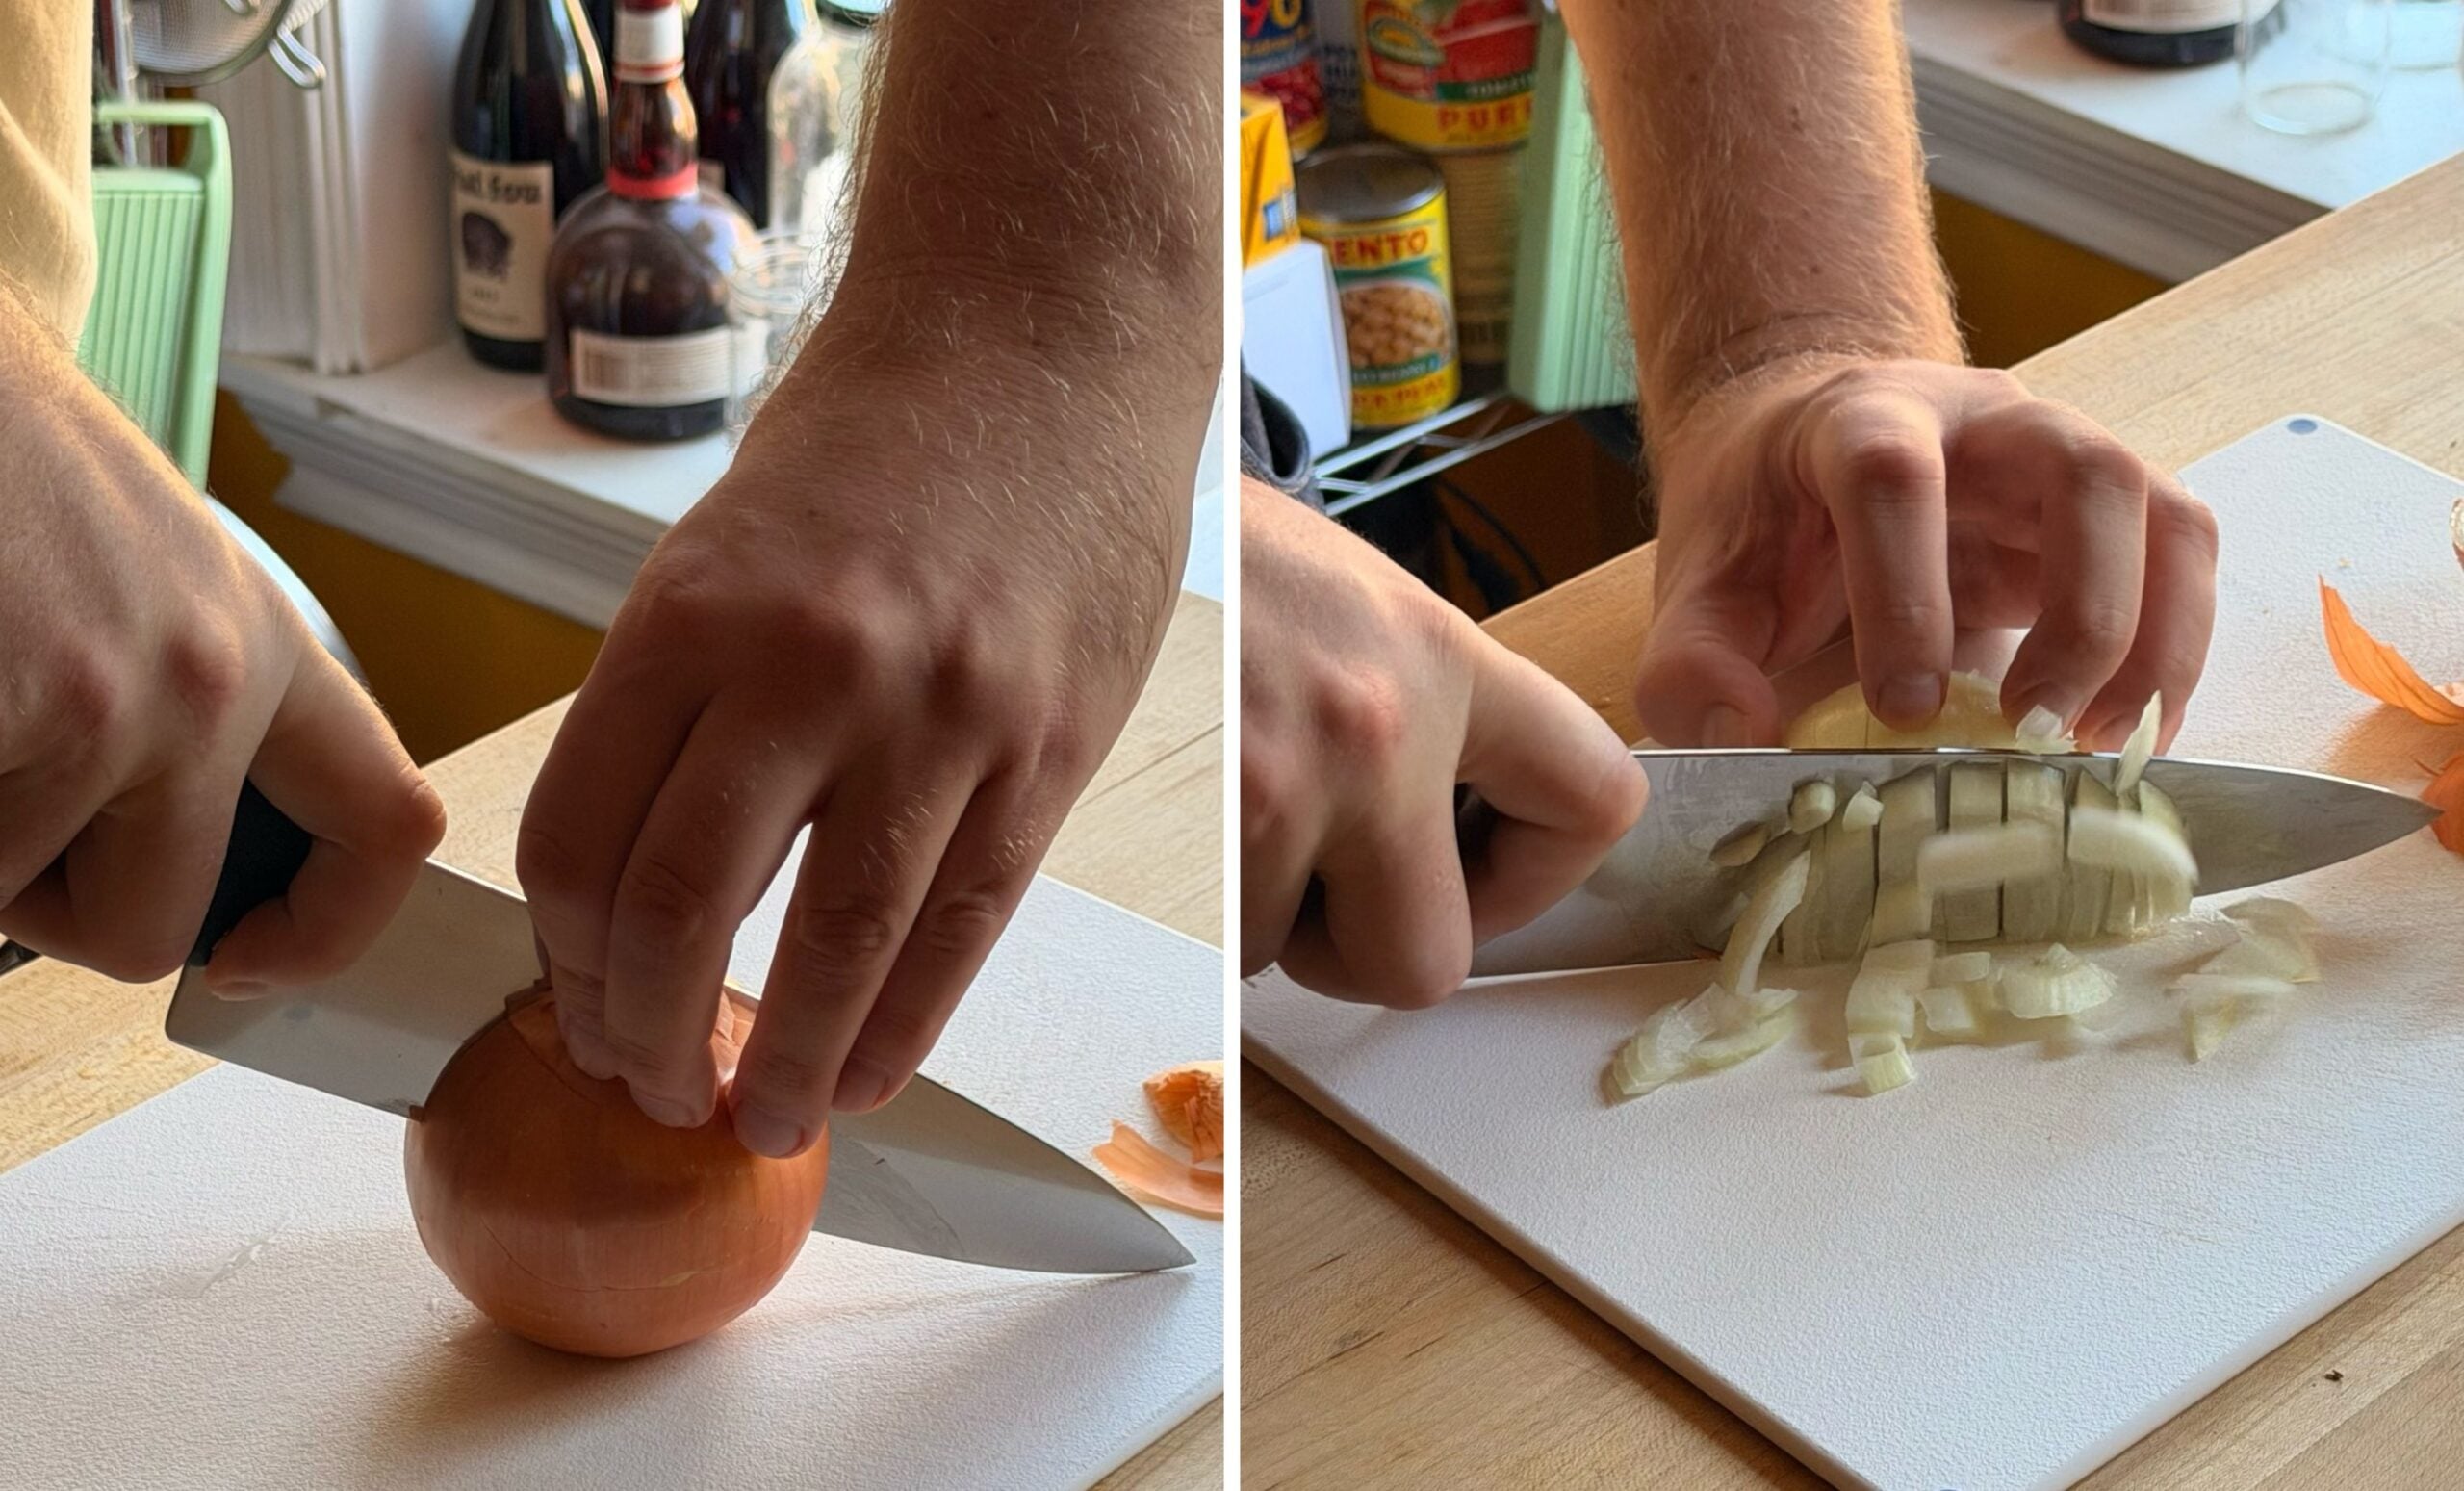
Oh, you’ll know. If your knife feels like it wants to slip off the side of every Brussels sprout and potato, or if your herbs are getting beaten and bruised instead of finely chopped, or if your onions are making you cry, it’s time to sharpen up. (Fun fact: Onions make you cry because cutting through their cell walls sets off a chemical reaction that releases a gas called syn-propanethial-S-oxide. A sharp knife damages fewer cells, which means fewer tears.)
What’s the difference between honing and sharpening?
You want to do both. Sharpening shaves off microscopic slivers of metal to create a new cutting edge, while honing helps straighten out the edge you already have. Think of sharpening as exfoliating and honing as brushing your hair. One you do occasionally; the other you do more often.
How often should I sharpen my knives?
It all depends on how often you cook and what you’re cutting. Honing can happen once a week or every time you cook. It’ll help keep your blade aligned and working great, so start there. Sharpening might happen every other month or just a couple times a year. Pay attention to how your knife performs, and if honing doesn’t get it back on track, then it’s time to sharpen.
Do different knives need different treatment?
One trillion percent yes. This is a starter guide to sharpening, and it’ll work fine for most Western-style chef’s knives and smaller paring knives, utility knives, and carving knives. Japanese-style knives usually have thinner, more delicate edges, so a whetstone is generally better than a handheld sharpener. And some traditional Japanese knives are sharpened only on one side and need a different whetstone technique. But I’m going to trust that if you’ve wandered into the world of advanced Japanese knives, you already know what to do. Serrated knives, like bread knives or serrated chef’s knives, have little teeth that need special tools to sharpen, so those are also best left to a professional. The good news is they don’t need to be sharpened as often. Ceramic knives also require special diamond sharpening equipment. When in doubt, google the manufacturer’s recommendations!
The easy option: A handheld sharpener
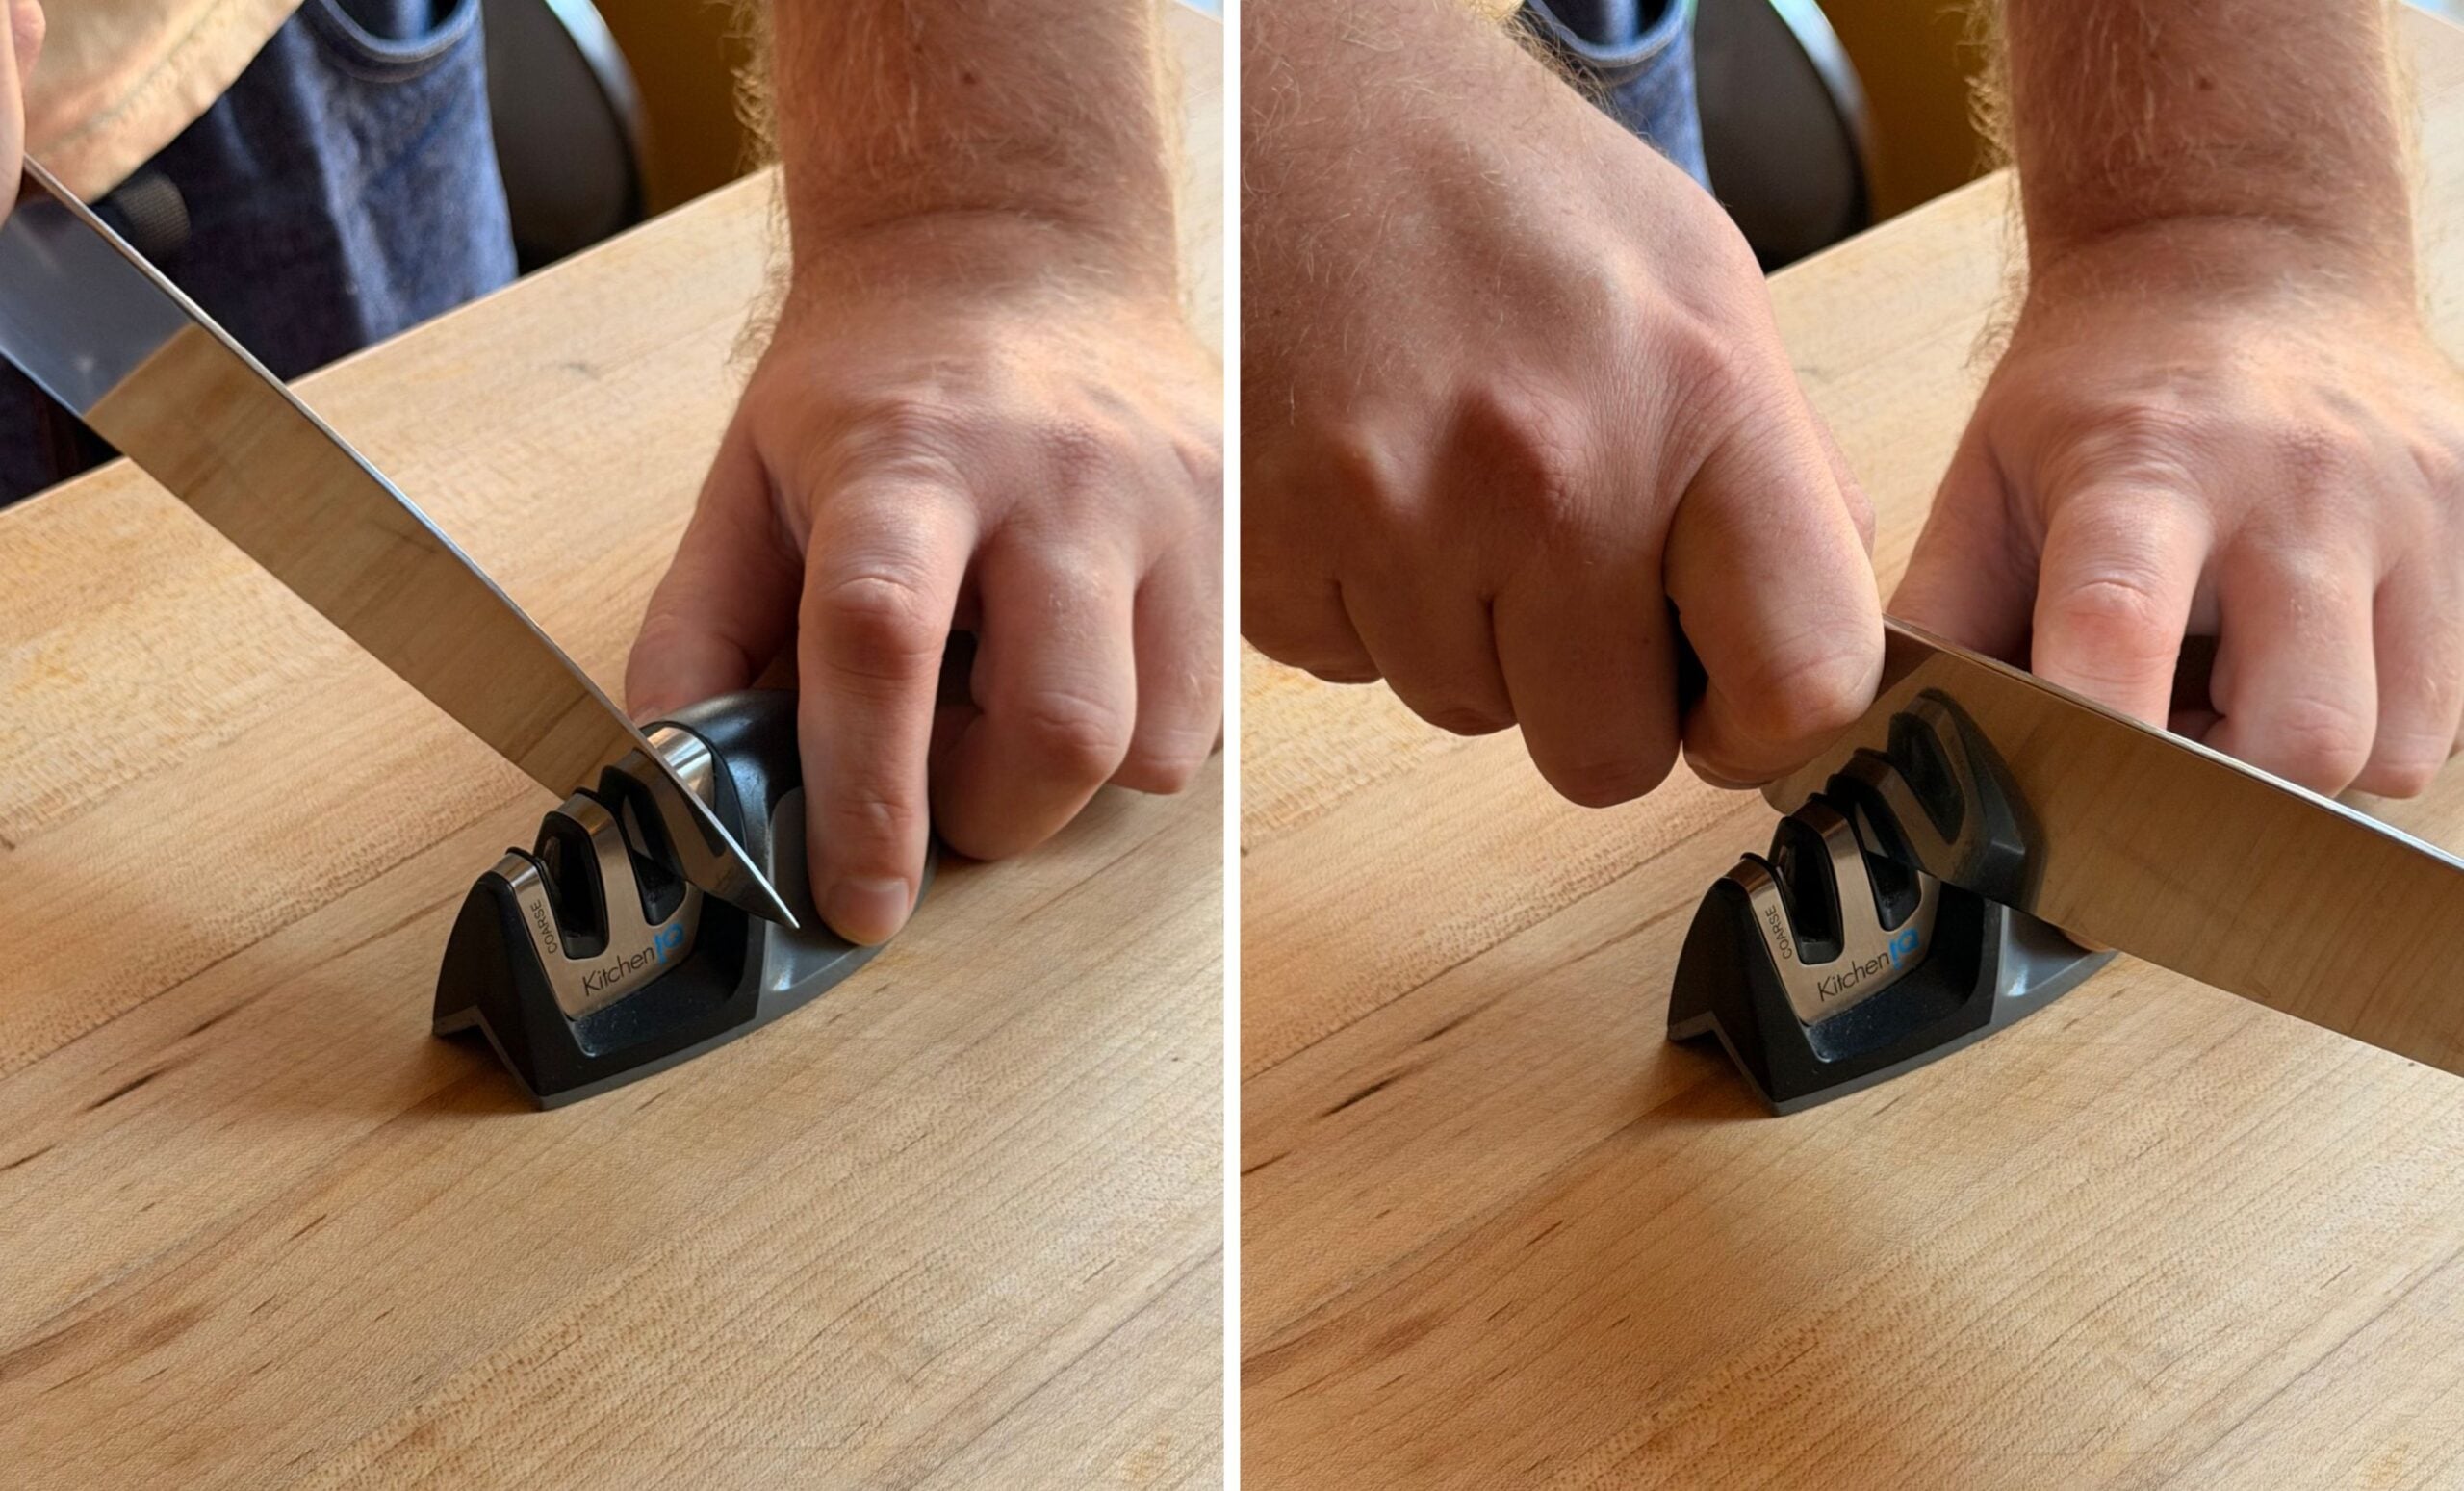
If it’s your first time sharpening a knife, a handheld sharpener is the perfect place to start. They have preset angles so there’s no technical work on your end. They also usually have a coarse slot for sharpening a dull blade and a fine slot for finishing the edge. Place the sharpener on a flat surface, hold it firmly, and pull the knife through the slot, starting at the heel of the blade and going all the way to the tip; then lift the heel back to the start and do it again. No sawing back and forth, just one smooth pulling motion. This $10 model is nice and compact and has all you really need.
The better option: A whetstone
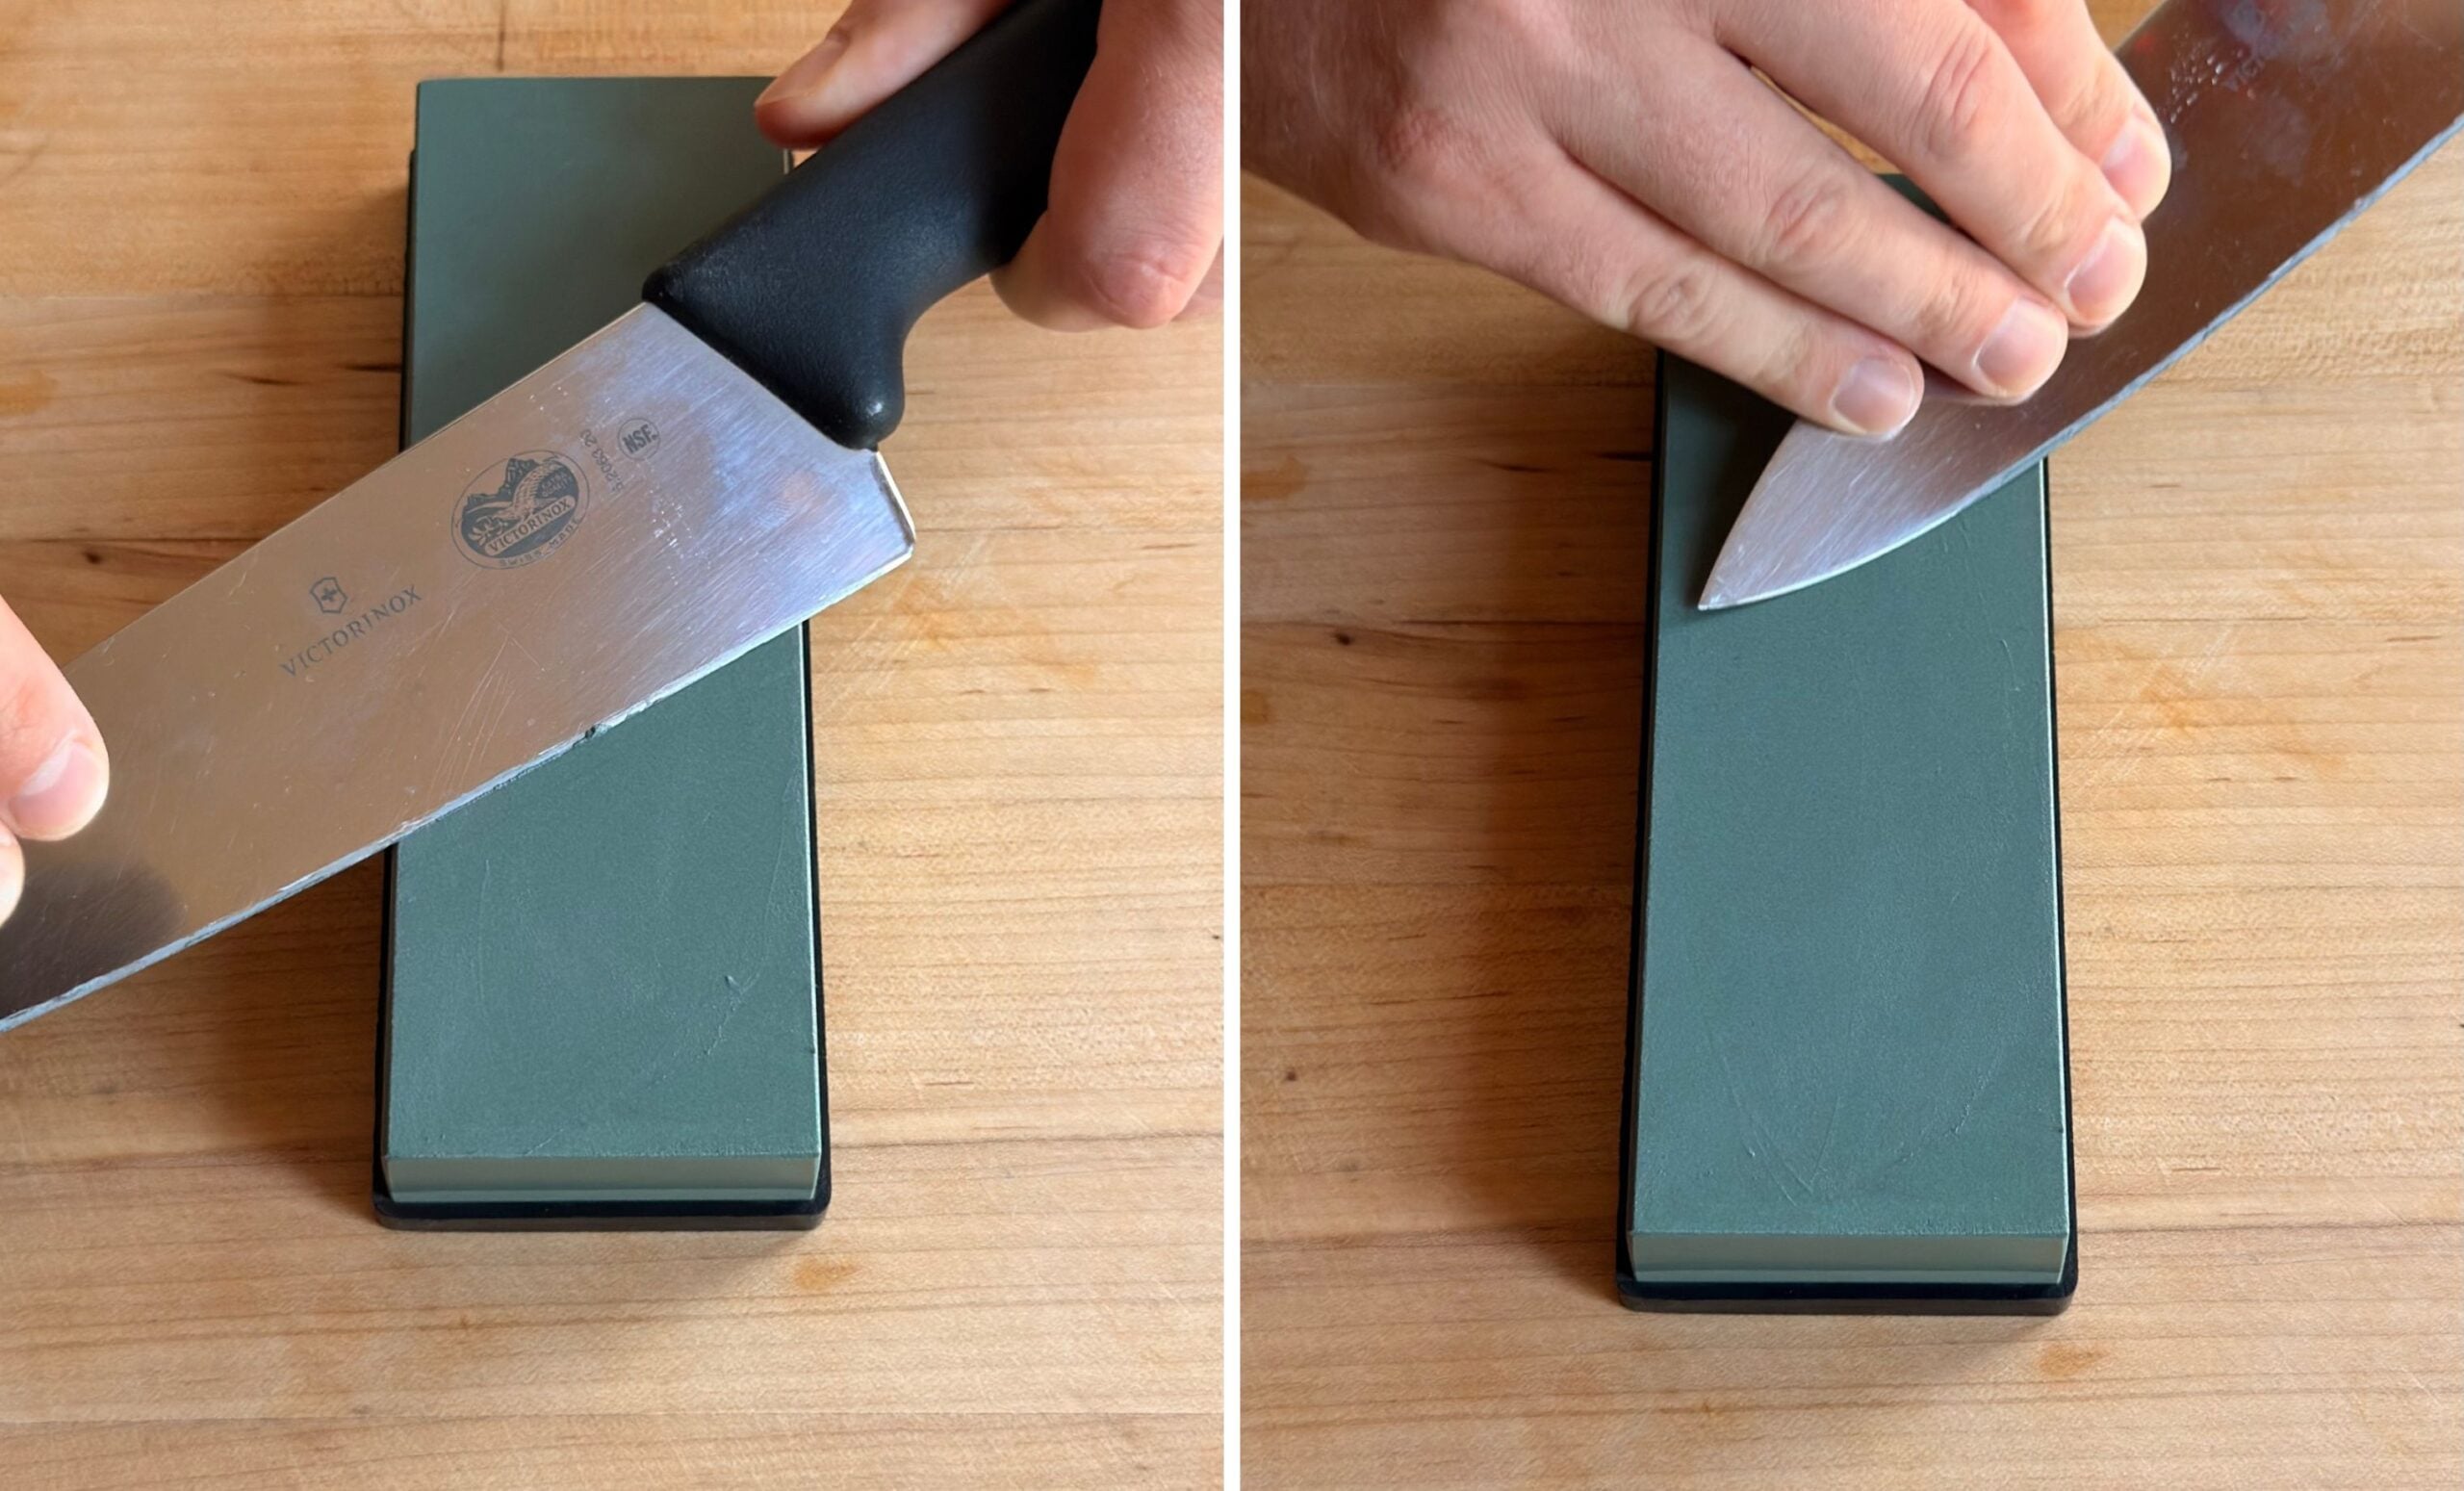
This is my preferred method, but it takes a little more time. A whetstone is a block of abrasive material that always makes me feel like a medieval blacksmith (and the model I swear by is just $10). It’s so satisfying once you get the hang of it.
Start by soaking your whetstone in water for 10 to 15 minutes, until it stops bubbling. (Some brands don’t need a soak, so always read the directions!) It’ll either come with a nonslip base or you can set it on a damp kitchen towel so it won’t slide around. Set the coarse side up (the lower number), then sprinkle a little water on top for a slick surface. Hold the knife with the cutting edge facing away from you, the handle in one hand, and the fingers of your other hand resting on the flat side of the blade. Tilt the knife to roughly a 15-degree angle and glide it back and forth along the stone, keeping a steady angle and gentle pressure as you work from the heel to the tip. It’s not about moving quickly; you want to take your time and be precise. Flip the knife over and do the same thing on the other side. Repeat the process on both sides five times, then flip the stone over to the fine side (the higher number) and do it all again.
Time to hone.
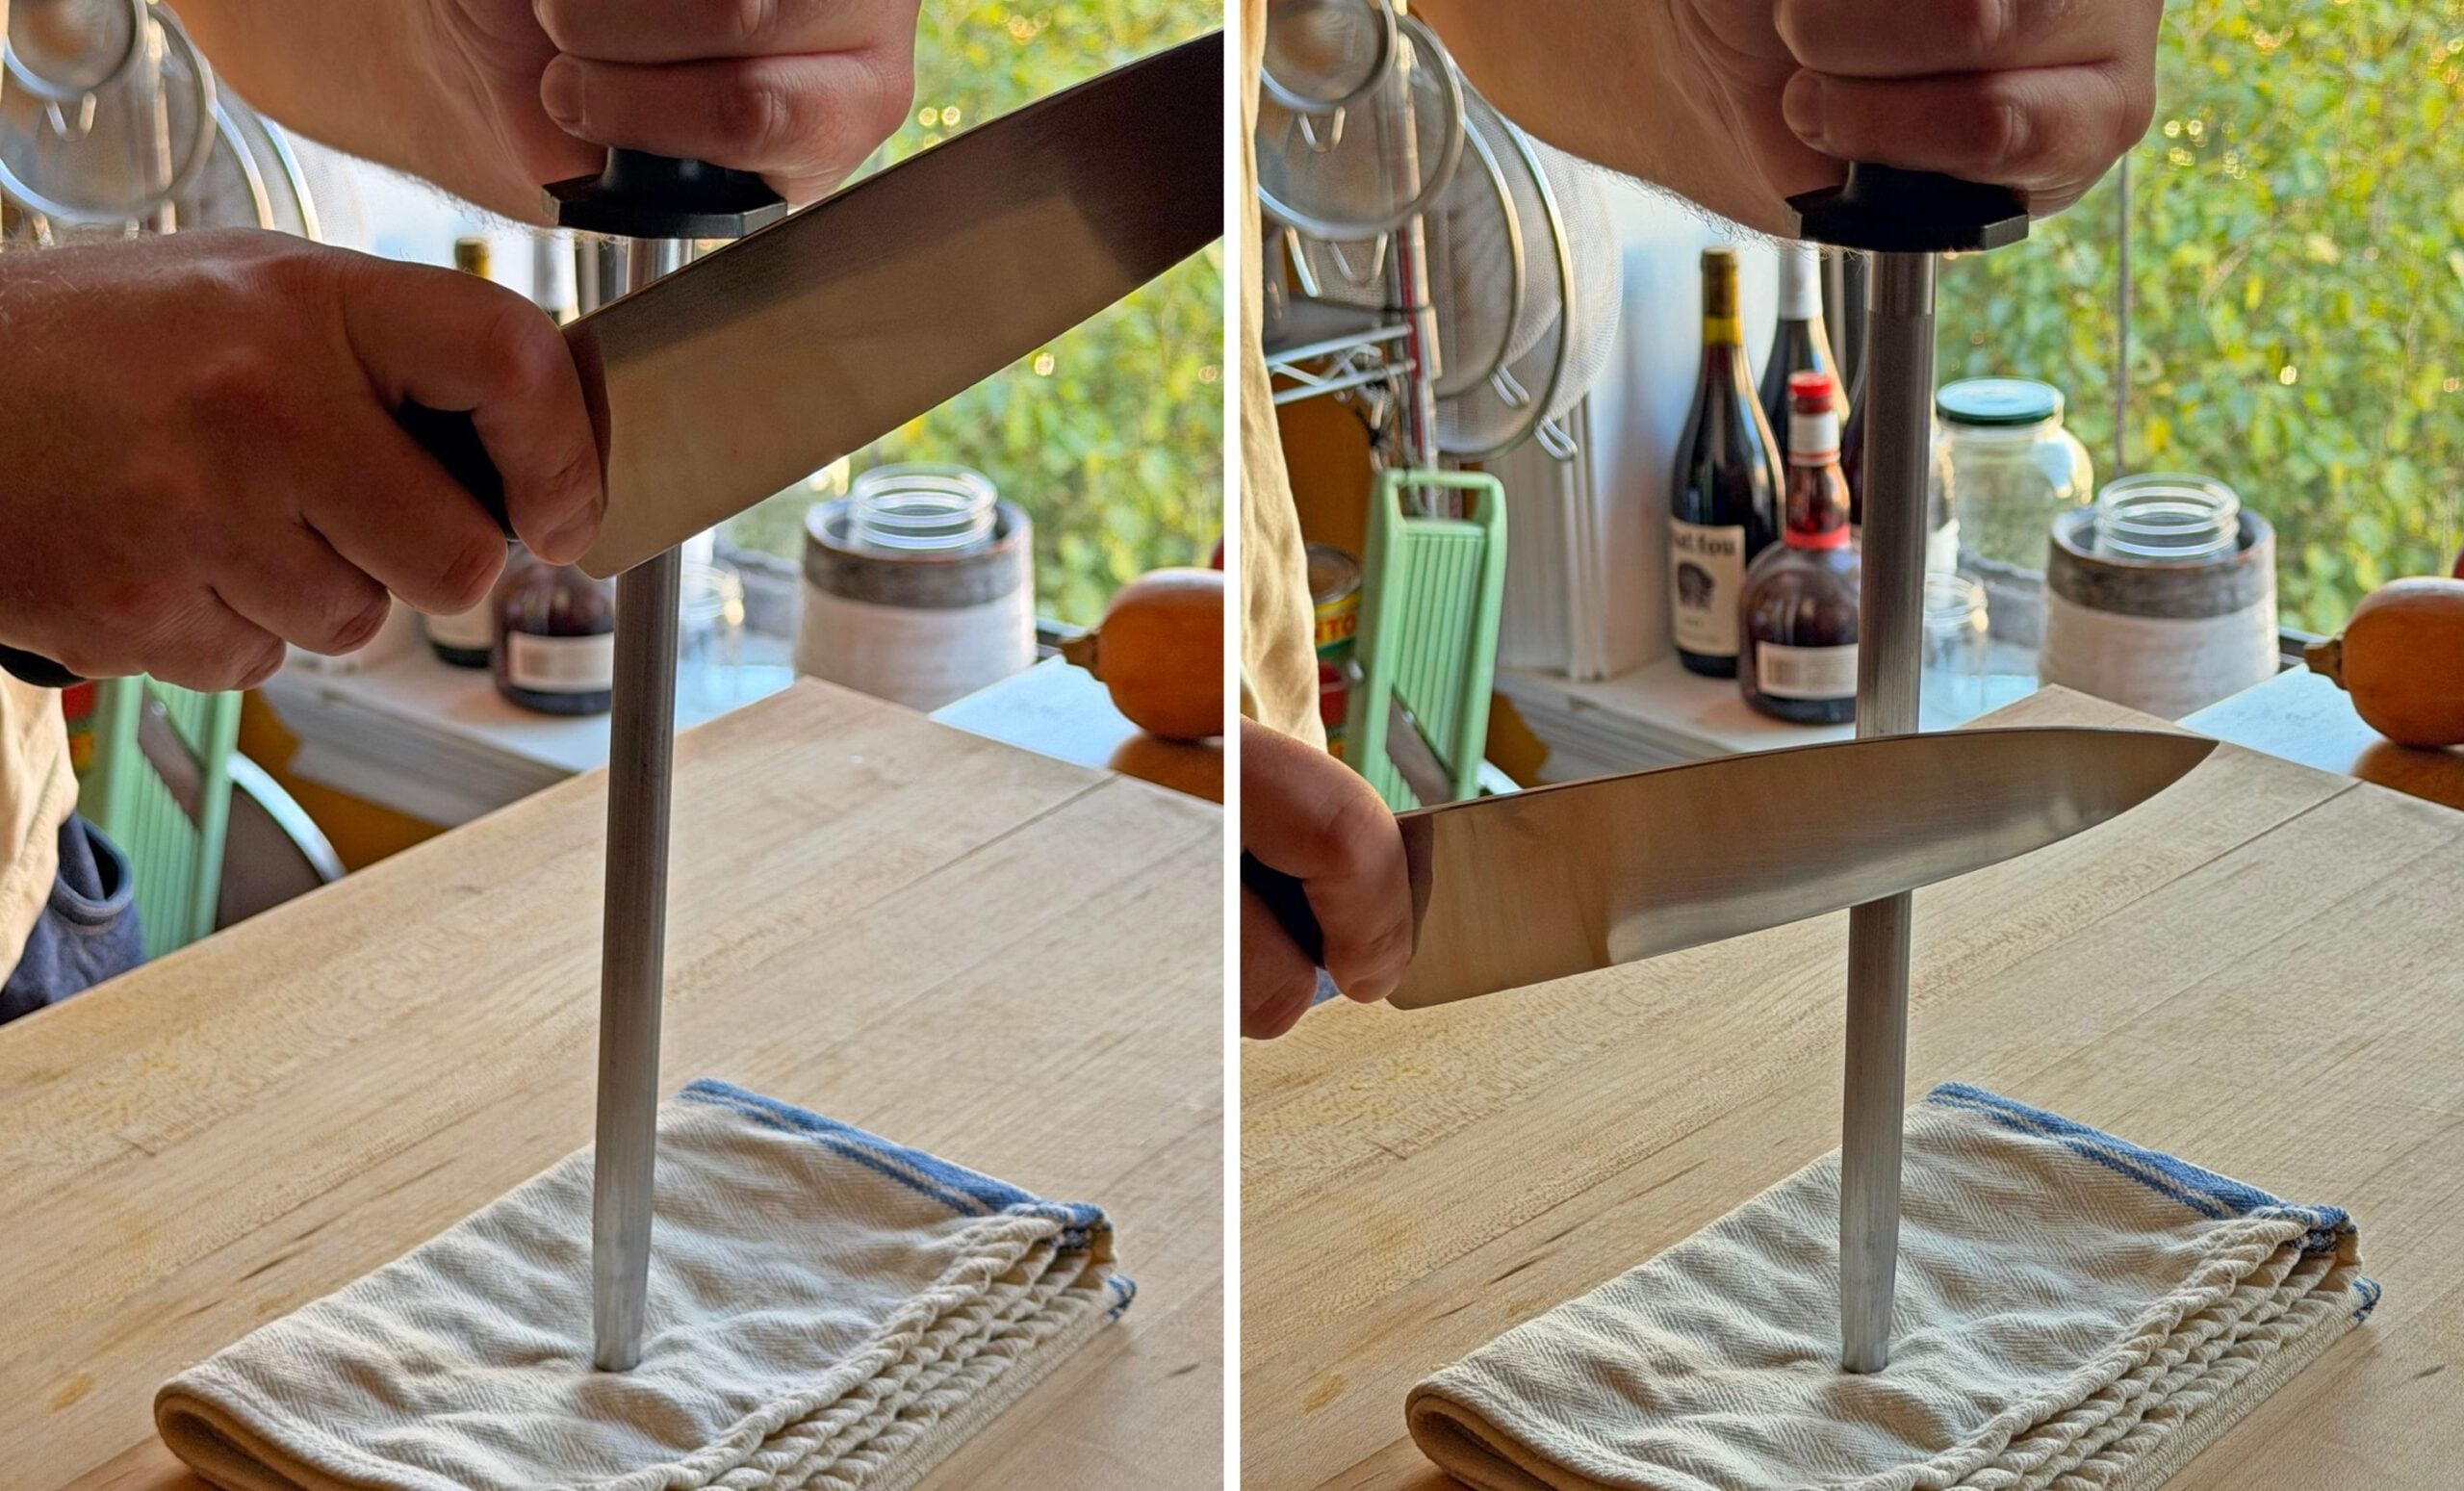
You’ve probably seen chefs on cooking competitions waving their knife around on a long metal rod. A) They’re just being dramatic and B) that’s the honing steel. The easiest and safest method is to fold a kitchen towel on your counter, then set the tip of the steel straight down and hold the handle firmly. With your other hand, place the heel of the knife against the upper part of the rod at a 15-degree angle. Slide the blade down the steel while also pulling the blade from the heel to the tip. Switch the knife to the other side and do it again. Repeat the process on both sides five times. Some knife blocks already come with one, but if yours didn’t, honing rods are also pretty affordable.
Last step: Clean up!
Sharpening removes tiny particles of metal from your knife, and honing can kick up residue, too. So, even if you can’t see anything, always wash your entire blade with soapy water and wipe it dry before chopping anything. Wipe down your work surface, as well.
Happy chopping season, everyone! Any other knife tips or recommendations?
Casey Elsass is a food writer, recipe developer, and cookbook author based in Brooklyn. He is the author of the bestselling cookbook What Can I Bring?: Recipes to Help You Live Your Guest Life and has co-authored more than 30 cookbooks. His writing has appeared in publications including The New York Times, New York Magazine, Bon Appétit, NPR, Food52, and, of course, Cup of Jo.
P.S. More “back to basics” cooking posts, plus 12 kitchen essentials we can’t live without.
 76 COMMENTS